
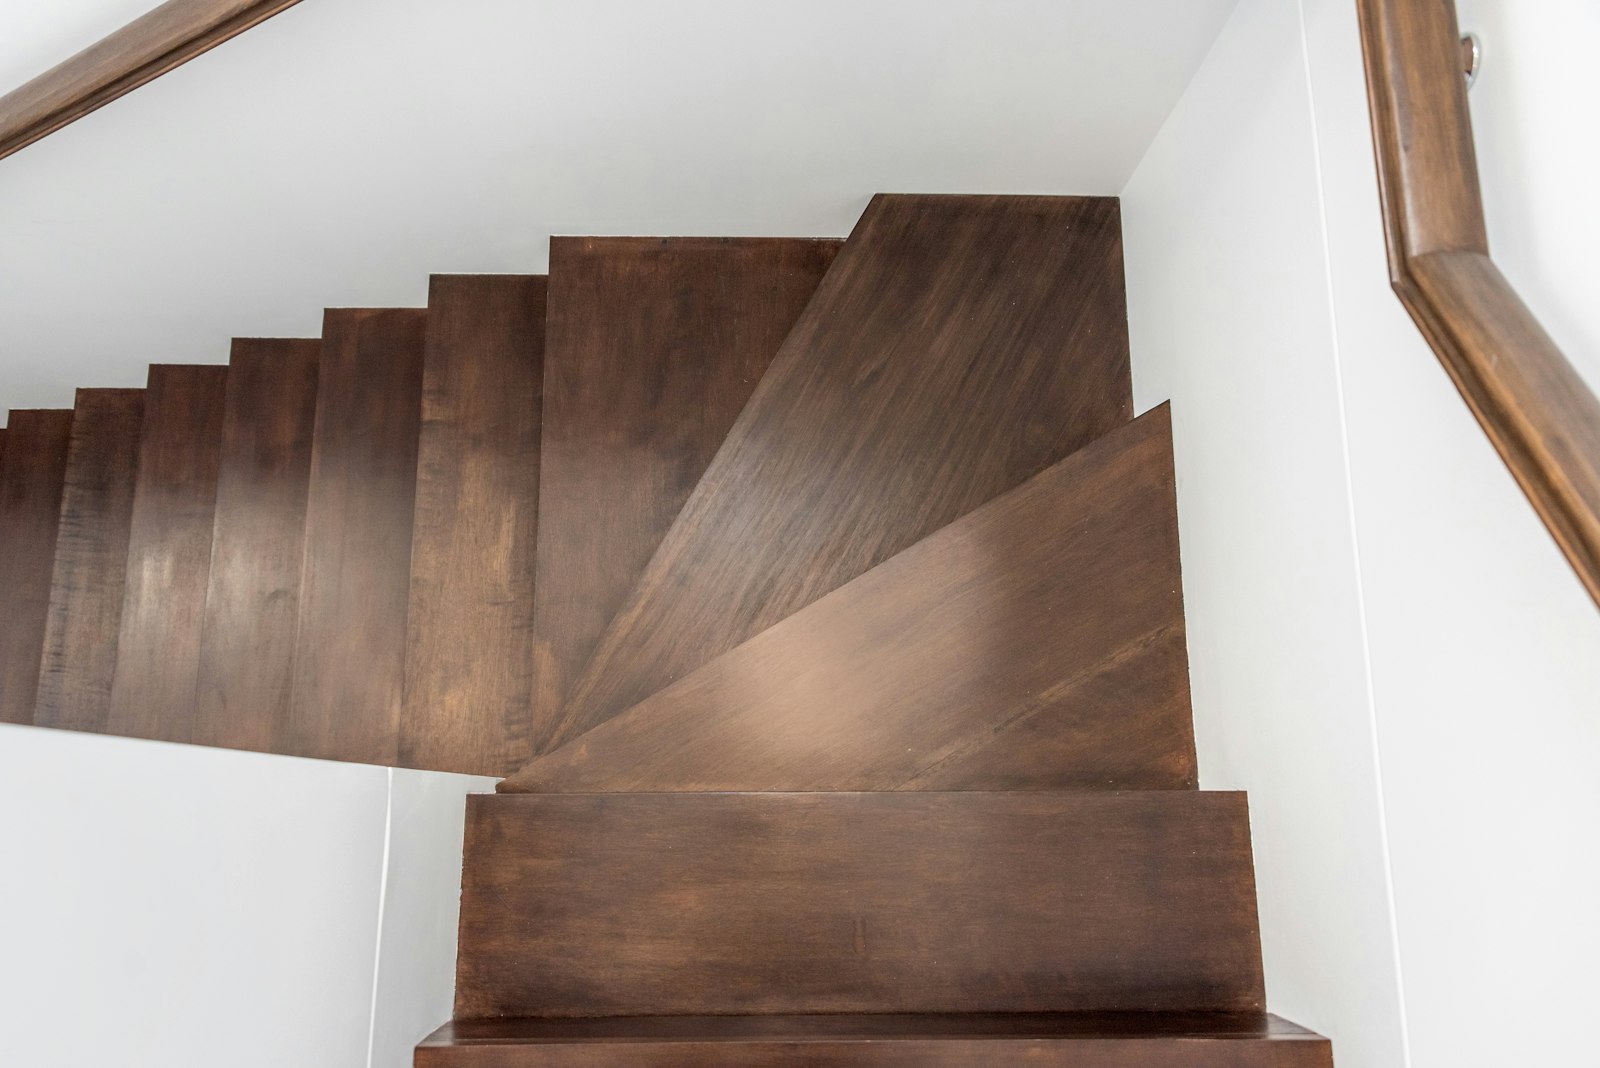
TL;DR: A staircase calculator turns one measurement, the finished floor to finished floor rise, into a flight that meets the NCC. Memorise 2R + G = 550 to 700 mm, aim for 600 to 650 mm, keep the riser between 115 and 190 mm and the going between 240 and 355 mm. The two things that actually fail on site are not the maths: they are floor build-up that nobody accounted for, and a stairwell opening that eats your headroom.
If you have ever walked a flight and felt one tread that is just slightly off, a riser 5 mm proud of the others or a going noticeably shallower, you already know how unforgiving stair geometry is. Your foot knows before your brain does. Get it wrong and you have a surveyor problem, an insurance problem and a genuine trip hazard, all in the one flight. The good news is that the maths behind a compliant Australian stair is simple once you know which numbers are fixed and which are yours to choose. This guide walks through how to use a staircase calculator properly: the 2R + G formula and where it came from, the current NCC limits for a house, a full worked example on a 2,800 mm rise, the errors that get pulled up at inspection, how to build a price off the geometry, and when to stop calculating and get a designer involved.
Quick formula, the one to memorise:
2R + G = 550 to 700 mm. Aim for 600 to 650 mm.
R = riser height (115 to 190 mm). G = going depth (240 to 355 mm).
If you would rather skip the arithmetic, punch your total rise into the free Built Simple stair calculator and it returns a compliant rise, going, run and stringer length in seconds.
What a staircase calculator actually does
A staircase calculator takes one critical measurement, the total rise, and works the rest of the geometry backwards from it so that every riser in the flight is the same height and every going is the same depth.
Total rise is the vertical distance from finished floor to finished floor. Not slab to slab. Not the number on the frame drawings. We will come back to that, because it is the single most common way a perfectly correct calculation ends up producing a non-compliant stair.
A decent calculator gives you back:
- Number of risers. How many steps in the flight.
- Individual rise. Total rise divided by the number of risers, in millimetres, usually to one decimal place.
- Going depth. Chosen so that 2R + G lands in the comfortable range.
- Total run. How far the flight projects horizontally, which is what tells you whether it fits the plan.
- Stringer length. The sloping length, so you can order timber or steel.
- Pitch. The angle, which is a comfort read more than a compliance one.
The reason every one of those matters: within a single flight, the risers have to be consistent and so do the goings, with only a few millimetres of construction tolerance. One odd step and the whole flight is a problem. A calculator removes the rounding drift that creeps in when you are dividing 2,800 by 16 in your head with the ute running.
The 2R + G formula, and why 600 to 650 mm is the target
The formula is not modern. French architect François Blondel worked out in the 1670s that human stride length on stairs stays roughly constant at about 600 mm, and that as the riser gets taller the going has to get shorter to keep the stride natural. As the riser drops, the going lengthens. 2R + G encodes that relationship, and it is still what the code uses.
The legal envelope in Australia is 550 mm to 700 mm. Inside that envelope, though, stairs feel wildly different:
- 2R + G near 550 mm. Steep and tight. Fine for a cellar or an attic access, punishing as a main stair.
- 2R + G near 700 mm. Long and shallow. Comfortable, but it will eat a metre of floor plan you may not have.
- 2R + G of 600 to 650 mm. The zone most designers set out in. Comfortable for adults, manageable for kids and older users, and you can carry a laundry basket down it without looking at your feet.
Key takeaway: the code gives you a 150 mm window. Your clients will judge the stair on where in that window you landed, not on whether you met the minimum.
The NCC stair rules for a house, in one place
For Class 1 buildings, which is most houses and therefore most of what a builder deals with day to day, the stair geometry sits in Part 11.2 of the ABCB Housing Provisions, called up by NCC Volume Two. That is the material that used to live at clause 3.9.1 in the older editions, so if your old TAFE notes say 3.9.1, they are pointing at the right content under a retired number.
NCC 2022 is still the edition in force for housing work as at 2026, after building ministers agreed to hold the residential provisions steady rather than run the usual three-year revision. That is worth knowing because it means your 2022 numbers have not quietly moved. What can still move is your state's adoption date and its state variations, which are printed in the code itself. You can read the whole thing free at ncc.abcb.gov.au, and if you are going to rely on a number in front of a surveyor, read it there rather than here.
The Class 1 limits:
| Item | Limit |
|---|---|
| Riser (R) | 115 mm minimum, 190 mm maximum |
| Going (G) | 240 mm minimum, 355 mm maximum |
| 2R + G | 550 mm to 700 mm |
| Risers per flight | 2 minimum, 18 maximum before a landing |
| Landing length | 750 mm minimum |
| Headroom | 2,000 mm minimum, measured vertically above the nosing line |
| Openings between treads | Must not allow a 125 mm sphere through |
| Consistency | Risers constant, goings constant, within the code's small tolerance (around 5 mm) |
Two things that get quoted loosely and should not be.
Pitch. You will see "36 degrees maximum" repeated all over the internet for house stairs. Volume Two does not control a private stair with a pitch number. The pitch falls out of the rise and going you already chose. The steepest flight the geometry allows, a 190 riser on a 240 going, is about 38.4 degrees. The shallowest, 115 on 355, is about 17.9. Treat any hard pitch figure as a rule of thumb unless someone can hand you the clause. Industrial stairs under AS 1657 are a separate animal entirely and do allow steeper pitches, but those are for trained workers reaching plant and roof access, not for a family home.
Width. The stair provisions in Volume Two are about rise, going, landings, barriers and handrails, not a blanket minimum width for a private stair. Most builders set out at 900 to 1,000 mm anyway, because that is what makes a flight usable once a handrail is on the wall and someone is carrying a mattress. If a number gets quoted at you, ask which clause it came from.
For Class 2 to 9 work, commercial and multi-residential, the goings tighten and the flight rules are enforced harder. Do not carry a house set-out onto a commercial job.
Worked example: a 2,800 mm floor-to-floor rise
You are framing a single flight from a ground slab to a first-floor platform. Finished floor to finished floor is 2,800 mm.
Step 1. Pick a riser count. Divide the rise by a comfortable riser height of about 175 mm.
2,800 ÷ 175 = 16 risers
You cannot have a half step, so round to a whole number and re-check.
Step 2. Get the exact rise.
2,800 ÷ 16 = 175.0 mm per riser
Between 115 and 190. Tick.
Step 3. Solve the going. Aim for 625 mm, the middle of the comfortable band.
2(175) + G = 625 → 350 + G = 625 → G = 275 mm
Between 240 and 355. Tick. And 2R + G = 625, inside 550 to 700. Tick.
Step 4. Work out the total run. A flight with 16 risers has 15 goings, because the top riser lands on the upper floor and that floor is not a going.
15 × 275 = 4,125 mm of horizontal run
That is the number that decides whether this stair fits the plan. Over four metres of floor, before you have drawn a single line of balustrade.
Step 5. Pitch.
arctan(175 ÷ 275) = 32.5 degrees
Comfortable. A main stair that people will use twenty times a day should sit in the low thirties.
Step 6. Stringer length. Two ways to get there, and they do not give the same answer.
The quick diagonal, total rise against total run:
√(2,800² + 4,125²) = √24,855,625 ≈ 4,985 mm
The true nosing line, which drops the first riser out of the vertical because the line touches nosings rather than starting at the floor:
√(4,125² + 2,625²) = √23,906,250 ≈ 4,889 mm
The difference is about 96 mm. Order against the larger number and add for your plumb cuts at each end, so 5.1 to 5.2 m of stringer stock. Timber is cheaper than a second delivery.
What one more riser costs you
Same 2,800 mm rise, three legal set-outs:
| Risers | Rise each | Going | 2R + G | Total run | Pitch |
|---|---|---|---|---|---|
| 15 | 186.7 mm | 250 mm | 623 mm | 3,500 mm | 36.7° |
| 16 | 175.0 mm | 275 mm | 625 mm | 4,125 mm | 32.5° |
| 17 | 164.7 mm | 295 mm | 625 mm | 4,720 mm | 29.2° |
All three comply. The 15-riser version saves you 625 mm of floor and gives you a stair people will grumble about. The 17-riser version is lovely to walk and costs you another 595 mm of run plus an extra tread and riser board. That trade-off is the real design decision, and it is worth having with the client before the frame goes up rather than after.
The mistake the calculator cannot catch: floor build-up
This is the one. Your arithmetic is perfect and the stair still fails.
You measure structural slab to structural upper floor and get 2,800 mm. You set out 16 risers at 175 mm. Then 20 mm of tile goes down in the entry at the bottom, and 15 mm of engineered timber goes down on the landing at the top.
Your bottom riser is now 175 − 20 = 155 mm. Your top riser is 175 + 15 = 190 mm. Every riser in between is still 175. The flight now has a 35 mm spread between its shortest and tallest step, against a tolerance measured in single millimetres, and the trip hazard sits exactly where people step onto and off the stair.
The fix is not clever, it is procedural. Before you set out, write down the finished floor build-up at both ends: screed, tile and adhesive, underlay, timber, carpet and its underlay. Confirm them with whoever is laying them. Then calculate off finished floor to finished floor, which here is 2,800 + 15 − 20 = 2,795 mm, giving 2,795 ÷ 16 = 174.7 mm per riser, and cut your bottom and top stringer accordingly.
Key takeaway: the total rise is a decision about finishes, not a measurement off the frame. Nail that number down in writing before anyone touches a stringer.
Fitting the flight: headroom and the stairwell opening
Total run tells you if the stair fits the floor. The stairwell opening tells you if a person fits under it.
Headroom is 2,000 mm minimum measured vertically from the nosing line, and it is most often lost at the top of the flight where the trimmer of the upper floor cuts across. With a 32.5 degree pitch, every 275 mm you shorten the opening costs you 175 mm of headroom at the pinch point. Check the clearance from the nosing directly below the trimmer face, including the depth of the trimmer, the flooring, and any ceiling lining underneath it.
The opening itself is framing work covered by AS 1684, the residential timber framed construction standard. Trimmers and trimming joists around a stairwell carry the cut joists plus whatever the stair hangs off them, and once the opening gets long or the stair lands on it, you are usually outside the plain span tables and into an engineered beam or an LVL sized from the manufacturer's tables. That is a five-minute check on paper and a very expensive one after the floor is sheeted.
Barriers, handrails and the 125 mm sphere
Geometry is only half the job. The other half is stopping people falling off the side of it.
Where the drop alongside a stair or landing is more than a metre, you need a barrier, and it has a minimum height measured off the nosing line rather than off the tread surface. Openings in that barrier must not allow a 125 mm sphere through, which is the same test applied to the gaps between open-riser treads. It is a child-safety dimension and inspectors check it with an actual sphere.
Because the barrier rules are where a lot of otherwise tidy stairs come unstuck, they are worth reading properly rather than eyeballing. We have written the whole thing up separately in the balustrade height requirements guide for Australia, including the NCC and AS 1170 side of it.
Handrails follow the nosing line too, which is why you fix them after the treads are in and not off a level line on the wall. And plan the balustrade as a second visit: most of the time it goes on after the floor finish, and pricing it as though it happens on install day is how a fixed-price stair quote goes backwards.
Costing the stair: the take-off that produces the number
We are not going to print a dollar-per-flight figure, because a hardwood open-riser with a steel stringer and a painted MDF closed flight are not the same product, and prices move by species, finish and state. What we can give you is the take-off, because that is what turns geometry into a quote you can stand behind.
Off the 16-riser example above:
- Stringers. Two at 5.1 m of stock, three if the flight is a metre or wider or the treads are thin.
- Treads. 15, not 16. One less tread than riser, every time.
- Risers. 16 boards if the flight is closed, zero if it is open (and then check your 125 mm sphere).
- Balustrade and handrail. Priced on the nosing-line length, about 4.9 m for the raking section, plus the landing run and any returns.
- Fixings, wedges, glue, packers. Small money, but it is real money.
- Labour. Set-out and template, cut and assemble, install, then the return visit for the balustrade after the floor finish.
- Finish. Paint, stain or oil, plus protection while the rest of the trades walk on it.
- Provisional item. A landing, a winder or an engineered trimmer if the opening needs one.
Then GST. If your priced take-off comes to $4,000 excluding GST, the homeowner's invoice is $4,400 including GST at the standard 10 per cent. Quote a homeowner GST-inclusive, because that is the number they compare against the other two quotes on their kitchen bench. Quote a builder ex GST with the GST shown separately, because that is what their accounts want. If you are registered, you claim the credits back on the timber and the hardware, so the ex-GST figure is your real cost, not the shelf price.
Where stair quotes lose money is almost never the timber. It is the second visit, the winder nobody priced, and the variation for a build-up change that was agreed verbally on site. Price the visits, not just the materials. If you are still doing that in a spreadsheet you rebuild for every job, our rundown of the best construction estimating software in Australia covers what builders actually move to and why.
Five things that get pulled up at inspection
- Inconsistent risers, almost always caused by floor build-up at one or both ends.
- Headroom under the trimmer, measured off the tread surface instead of the nosing line, which flatters the result by the depth of the nosing.
- Going measured to the wrong edge. The going is tread to tread along the walking line, not the physical width of the tread board including the nosing overhang.
- A 125 mm gap on an open-riser flight or in the balustrade infill, usually in the one bay where the spacing was adjusted to make the run work out.
- Too many risers without a landing, which sneaks up on you on a tall void or a split-level.
When to stop calculating and call someone
A calculator handles a straight flight between two levels. Hand the job to a stair designer or an engineer when you hit any of these:
- Winders or a spiral. The going is measured differently and most simple calculators do not handle it. Get it drawn.
- A steel stringer or a cantilevered tread. That is a structural design, not a set-out.
- A rise that will not divide cleanly. If every whole riser count pushes you outside the limits, the problem is the floor levels, not the stair.
- Class 2 to 9 work. Different rules and a different inspector.
- A heritage or non-standard opening where the headroom is already marginal before you start.
Frequently asked questions
What is the ideal riser height for stairs in Australia?
Between 165 and 180 mm is where most comfortable residential flights land. The code allows 115 to 190 mm, but 190 is steep and 115 gives you a stair long enough to need its own postcode. Set the riser first, then solve the going with 2R + G.
How many steps for a 2.7 m ceiling?
For a 2,700 mm finished floor to finished floor rise, 15 risers gives you 180 mm each with a 265 mm going and a 3,710 mm run. 16 risers gives you 168.75 mm each with a 287 mm going and a 4,305 mm run. Both comply. Pick based on how much floor you can give it.
Can I use an American stair calculator?
No. Beyond the imperial conversion, the rules differ in a way that will bite you. The common US maximum riser of 7 3/4 inches is 196.85 mm, which is over our 190 mm limit. A stair that is legal in Ohio can fail here on the first measurement.
What is the maximum pitch for a staircase in Australia?
There is no single pitch number controlling a private house stair in Volume Two. It is set by the rise and going you choose. The steepest combination the limits allow is roughly 38.4 degrees, and anything above about 36 degrees will feel like a ladder to the people living with it.
How do I work out the stringer length?
Square the total rise, square the total run, add them, take the square root. For the 2,800 mm example with a 4,125 mm run, that is about 4,985 mm. Order 5.1 to 5.2 m to cover your plumb cuts at each end.
Do I need council approval to replace a staircase?
Usually yes if the work is structural or forms part of a wider approval, and the answer depends on your state and your council. If you are doing it yourself, start with the state-by-state owner-builder permit walkthrough before you order any timber.
What happens if one riser is out by a few millimetres?
The code allows a small construction tolerance, in the order of 5 mm across a flight. Beyond that you are looking at a defect, and a defect at the top or bottom step is the one people actually trip on. If the spread came from floor build-up, the honest fix is to recut the stringer, not to pack the tread.
Get the geometry right once, then get it out of your head
The maths on a stair is genuinely easy. What costs builders money is everything wrapped around the maths: the build-up nobody confirmed, the variation that was agreed in the driveway, the balustrade visit that was not in the quote, and the set-out that lived on a piece of plywood until it was thrown in the bin.
The free Built Simple stair calculator does the arithmetic in seconds and applies the NCC limits so you are not cross-checking a table with dirty hands. It is on the web and in the free mobile app, along with the rest of the calculator set, and you do not need to sign up to use it. If you want the numbers to carry through into a quote, a schedule and an invoice instead of getting retyped three times, that is what the rest of Built Simple is for, and our guide to job management software for tradies is a fair place to work out whether it suits how you run jobs.
Have a play with it on the next flight you price, and see how close your gut set-out was to the one the code would have given you.




